
Fire Cider is a natural home remedy for cold and cough. It’s super easy to make and bursting with nutrients that will help your immune system fight off any unwanted invaders.
In our household, it has certainly become indispensable and is one of my go to’s when I feel a sniffle coming up.
I still remember my first sip not being the most pleasant experience, but I have really come to like the tangy flavour.
It tastes a little bit like pickle liquid. If you don’t like the flavour of pickles you might want to add a little honey at the end of the brewing process to make it more palatable.
This time of year our apartment turns into a Fire Cider factory to keep up with the demand of our friends and family.
What is Fire Cider?
Fire Cider Tonic aka Master Tonic has been hailed as the number one home remedy against colds and coughs. But does it live up to the high expectations?
A few years ago, when it went mainstream it became available in health food stores all over the world. Yet, I prefer making my own, because it is cheaper and you know what went into it.
I haven’t had a proper cold for the last 3 years and I partly attribute it to the consumption of my Fire Cider.
The original recipe was created by herbalist Rosemary Gladstar in the late 1970s but has since been adapted by many.
I was introduced to it as Master Tonic by the Northern Irish queen of fermentation Dearbhla Reynolds, author of the book The Cultured Club. If you are into fermentation, make sure to check it out, I can’t recommend it highly enough.
How to make Fire Cider?
Making your own Fire Cider doesn’t require many utensils.
All you will need are a
- 1-litre jar with a lid
- a 750ml clip-top bottle
- a knife and chopping board or a grater
If you are short on time, you can also just add the solid ingredients into a high-speed blender. Pulse until they reach your desired consistency.
I use a Froothie Optimum Vac2 Air Vacuum Blender you can check out my review of it here.
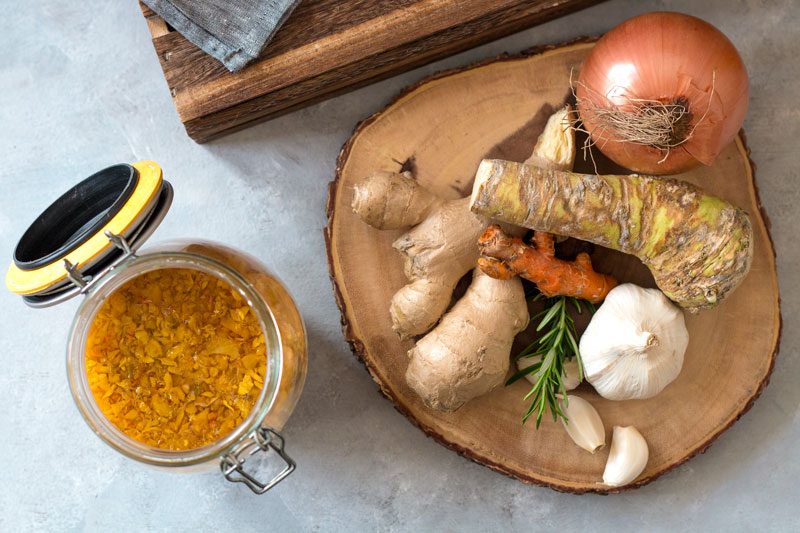
Now, you fill everything into a clean 1-litre jar, top it up with apple cider or kombucha vinegar, close the lid and let it steep for 2-4 weeks. Steeping it for much longer won’t result in a stronger tonic.
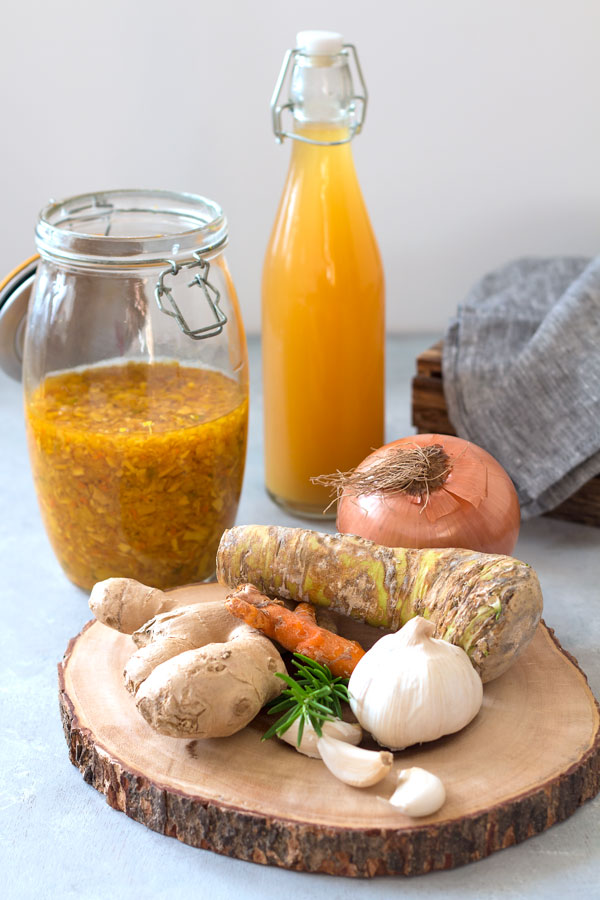
All that’s left to do is to strain the tonic through a cheesecloth or fine-mesh sieve and transfer it into a bottle. Fire Cider is shelf-stable and doesn’t need to be refrigerated.
You will get 2-3 batches of Fire Cider Tonic from your solid ingredients before you will need to replace them.
If you have a dehydrator you can also put the remaining vegetable matter to good use. Once it’s dehydrated you can grind it and use it as a delicious seasoning. But be warned, you might want to put the dehydrator into a non-frequented room as the horseradish will still be potent enough to make your eyes water.
Are you wondering where to buy fresh horseradish? I usually buy mine in Asian markets.
Benefits of Fire Cider Tonic
Most recipes will use the same base ingredients but feel free to experiment by adding different flavours like rosemary sprigs, black pepper, lemon or honey.
I usually use
- Kombucha Vinegar or Apple Cider Vinegar – probiotic, blood sugar balance
- Ginger – reduces nausea, eases digestion and fights colds and chills
- Horseradish – antioxidant, anti-inflammatory, antibacterial, sinus-clearing, cough
- Onion – colds, bronchitis, antihistamine, high in Vitamin C
- Garlic – immunity, cardiovascular health, antibacterial
- Jalapeno pepper – sinusitis, combats infection, breaks up mucus
- Turmeric – antioxidant, anti-inflammatory
For more tips on how to stay healthy, check out my post: Stay Healthy: How To Prevent To Catch A Cold Or Flu!
How to take Fire Cider?
If your immune system is under constant attack like it’s the case with teachers, kindergartners and nurses I suggest taking a tablespoon each morning. When you feel you already got a sniffle, increase the dose to 1 tablespoon every 3-4 hours.
Firstimers might want to dilute it with a little water but once you are used to it, try drinking it straight. I swish my mouth with a little water afterwards to protect the enamel of my teeth.
Fire Cider has many uses, so don’t be afraid to also use it in soups or dressings.
Your turn
Have you heard of Fire Cider before and would you be inclined to try it? I would love to find out what flavours you are adding. Let me know in the comments.
For more updates follow me on Facebook, Twitter, Instagram, Pinterest or subscribe to my YouTube channel!
Fire Cider-A Natural Home Remedy for Cold and Cough
Ingredients
- 2 1/2 cups Kombucha vinegar or raw Apple cider vinegar
- 2 ounces ginger grated
- 2 ounces horseradish grated
- 7 ounces onion diced
- 4 cloves garlic diced
- 1 Jalapeno diced
Optional
- 2 ounces turmeric or 1 tablespoon ground turmeric
- 1 lemon
- 1 sprig rosemary
Instructions
- Add all the solid ingredients to a clean 1-litre jar and pour in the vinegar to cover. Close the lid and let steep for 2-4 weeks. Leave about an inch headspace in the jar because pressure can build up during fermentation.
- Strain the liquid through a cheesecloth or fine sieve and bottle it.
Notes
- Makes 600ml.
- Steeping the Fire cider for longer won't result in a stronger tonic.
- Fire Cider is shelf-stable and doesn't need to be refrigerated.
- I suggest taking one tablespoon each morning during flu season. When you feel you already got a sniffle, increase the dose to 1 tablespoon every 3-4 hours.
- You will get 2-3 batches of Fire Cider Tonic from your solid ingredients before you will need to replace them.
- If you have a dehydrator you can also put the remaining vegetable matter to good use. Once it’s dehydrated you can grind it and use it as a delicious seasoning.
- See text above for more tips.
Nutrition
Like it? Pin it!





Hi, do I need to shake it during the 2 weeks or to burp it (open lid briefly)? Thanks, Marie
Hi Marie, no burping required, just leave about an inch space on the top. x
Hi Marie, you mention that you can make 2-3 batches with these ingredients. Do you just top up the jar of used solid ingredients with more vinegar and make another batch?
Hi Tammy, yes, that’s exactly how you do it 😉