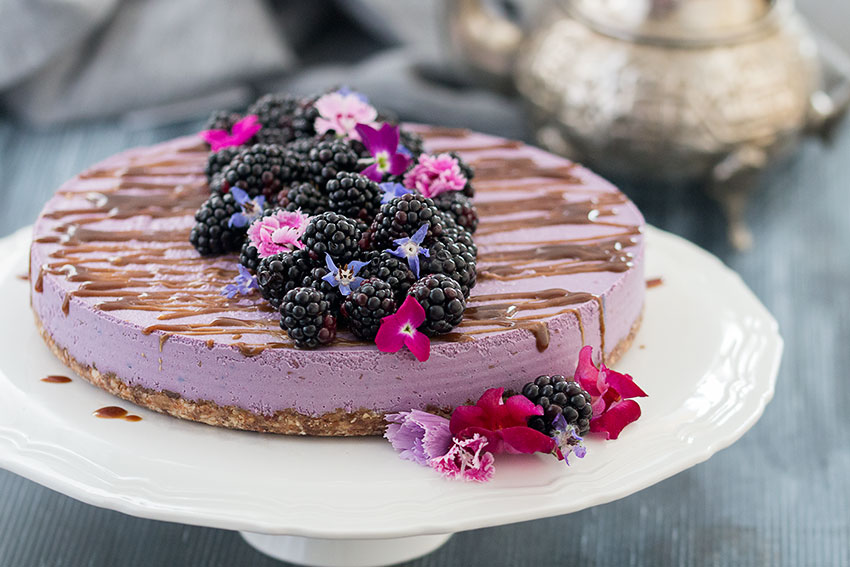
How to make Vegan, No-Bake Blackberry Cheesecake
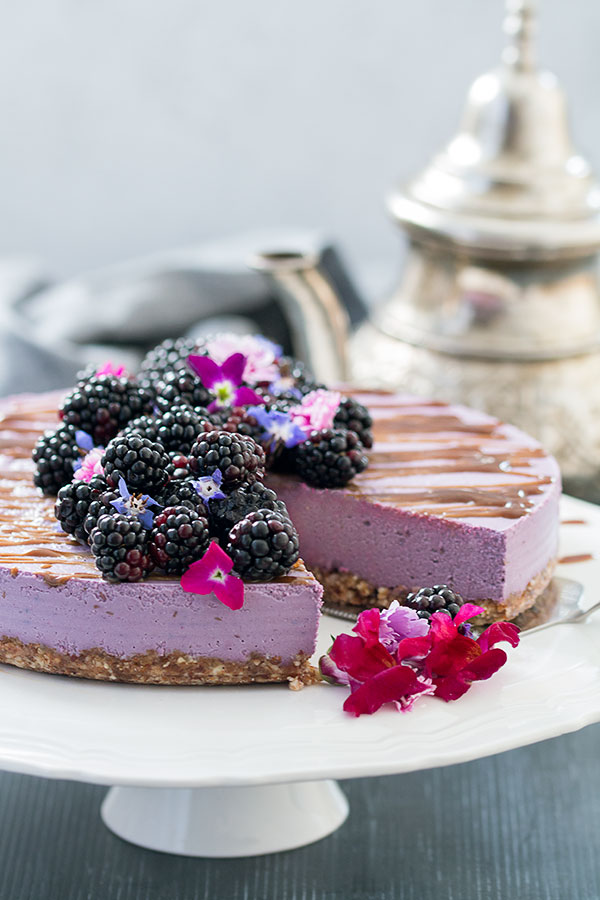
This vegan and gluten-free No-Bake Blackberry Cheesecake is ultra fresh, vibrant, and simple to make with no oven (or even stove) required!
Blackberry season has just begun which makes it the perfect summer dessert. The crust is crunchy and “buttery”, while the cheesecake filling is super creamy, luscious, and rich.
It provides you with the perfect balance of sweetness and tartness. While it’s so ridiculously easy to make the hardest part is waiting for it to chill and set before eating!
I’m a weirdo and would much rather eat berries raw and fresh than bake with them, so this Vegan, No-Bake Blackberry Cheesecake recipe worked out perfectly to preserve the sweet and tart freshness of the blackberries.
This recipe won’t just work with blackberries, you could also give it a twist by using blueberries or raspberries. Mango and Coconut Cheesecake with Raspberry Sauce is another one of my favourite summer cakes.
At the minute, unfortunately, it doesn’t feel like summer in Ireland, the weather hasn’t been great for the last week. On top, I have been struck by a summer flu which I could, fortunately, keep at bay with my Turmeric Ginger Tea. I am already feeling much better but some bug seems to be making its round in Dublin. Therefore, make sure to load up on vitamins and antioxidants to remain healthy before autumn hits.
Health Benefits of Blackberries
This fruit contains a long inventory of vital nutrients, many of which are found in huge quantities in just one serving, such as fibre, vitamin C, manganese and vitamin K — which is why the health benefits of blackberries are so plentiful.
Many of the health benefits of blackberries are related to their high antioxidant load, especially a number of anthocyanin polyphenols they contain. In fact, blackberries rank as one of the top 10 highest-antioxidant foods, according to the ORAC score assigned by the USDA. With an ORAC score of 5,347, these tiny fruits deliver a powerful punch of antioxidants with each bite, they are believed to help you fight disease, boost immunity and maintain premium health.
It’s important to buy blackberries organic whenever possible, as this is the best way to maintain their nutrient integrity when using them in all these scrumptious dishes.
Off to the kitchen to make some Vegan, No-Bake Blackberry Cheesecake. 😉
Like it? Pin it!
Your turn
What is the most epic vegan dessert you have ever made? Let me know, I’m looking forward to reading your comments.
For more updates follow me on Facebook, Twitter, Instagram, Pinterest or subscribe to my YouTube channel!
Vegan, No-Bake Blackberry Cheesecake
Ingredients
Crust:
- 1 1/2 cup pecan nuts
- 3/4 cup raw almonds
- 12-13 Medjool dates pitted and quartered
- 3/4 teaspoon ground cinnamon
Filling:
- 3 cups raw cashew nuts soaked for 8 hours
- 1/2 cup coconut cream
- 1/3 cup maple syrup add to taste
- 1/2 teaspoon almond extract
- 1/3 cup coconut oil melted
- 1/4 cup freshly squeezed lemon juice
- 1 cup blackberries
Salted Coconut Caramel Sauce
- 1/3 cup coconut cream
- 1 cup coconut sugar
- 1/2 teaspoon sea salt
- 1 tablespoon vanilla extract
Toppings
- 2-3 cups blackberries
- edible flowers optional
Instructions
Important: Soak the cashew nuts in water for 8 hours.
Crust
- Place all the ingredients for the crust into a blender and pulse until the crumbs start sticking together forming a dough. You would want it to remain slightly crumbly not powdery to give it some crunch.
- Line the bottom of a 9 1/2 inch spring form pan with parchment paper.
- Fill the dough into the spring form and press it down firmly until it forms a base.
- Refrigerate the crust while preparing the filling.
Filling
- Thoroughly rinse the soaked cashew nuts and add them along with the other ingredients for the filling to the blender. Blend on a low speed until the mixture is smooth, this will take about 2 minutes.
- Pour the filling on top of the crust and tap the spring form onto the kitchen counter to even out the top and to release trapped air.
- Cover the spring form with cling film and freeze for at least 3-4 hours.
Salted Coconut Caramel Sauce
- Meantime, prepare the salted coconut caramel sauce. In a small saucepan, bring all the ingredients except for the vanilla extract to a boil and reduce the temperature. Let simmer and stir continuously while the sauce will start to thicken then, add the vanilla extract. It will take approximately 8-10 minutes to reduce the sauce to the desired consistency. When the sauce starts thickening taste the sauce to check for a caramel flavour. Once it develops the caramel flavour take it off the heat and let it cool. It will continue to thicken while it's cooling down. Afterwards, pour it into a squeezy bottle which makes it easier to decorate with.
Toppings
- Take the cake out of the freezer about one hour before you would like to serve it.
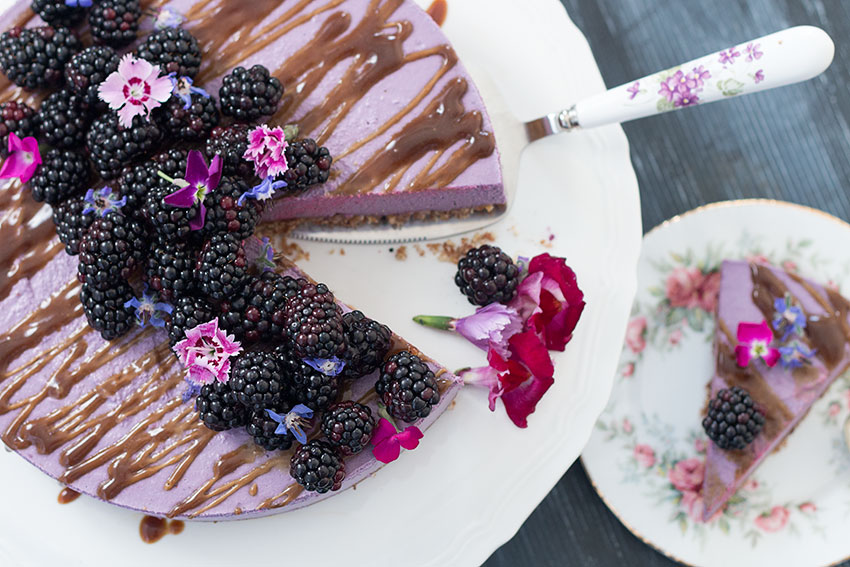
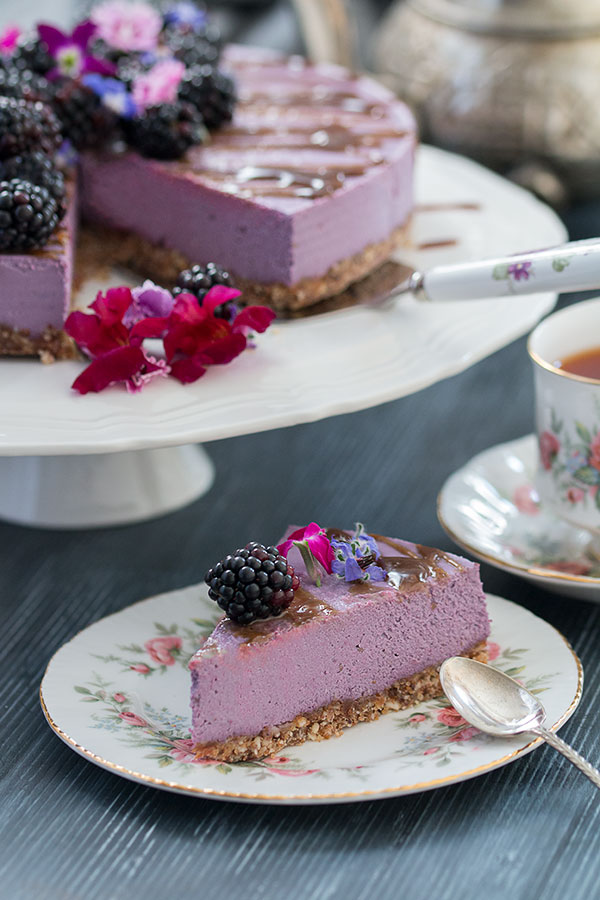
- Drizzle with the salted coconut caramel sauce and top with blackberries and edible flowers if you want it to look really fancy.
Notes
Method 1:
Refrigerate a can of coconut milk overnight and only use the part that has solidified on the top.
Method 2:
Buy creamed coconut (you get it in health food stores or most Asian markets), add boiling water to it and keep stirring until you receive a smooth texture. The desired ratio would be one part water and 2 1/2 parts hot water.
Nutrition
This recipe has been adapted from https://getinspiredeveryday.com.

Thank you Eva – this looks amazing! Can’t wait to try it. It’s not berry season here in Australia (but I remember many blackberrying expeditions when we still lived in England – such fun) so I’ll have to get frozen berries for now.
Thank you too for the e book – so much work has gone into it (not to mention the ingredients!) and the photography is just lovely : ) I don’t know how you manage to keep coming up with these amazing recipes – but please don’t stop : )
Hello Angela,
thank you so much for your kind words, this really made my day. I am delighted to hear that you are enjoying my recipes and I will try to keep them coming at least once a week. Enjoy the cake, I would love to see the result 🙂
Best Eva
Hey, doesn’t indicate when to add the vanilla extract. thanks
Thanks for pointing this out, I amended it.